How to Set Up GL Revenue Codes
 Updated
by
Janelle Heuton
Updated
by
Janelle Heuton
In Finance Hub, you can easily set up new GL Revenue Codes by following the steps below:
- Navigate to Finance Hub|Settings|Accounts Receivable.

Click Revenue Code Setup at the top right of the screen, then click Add New Code.
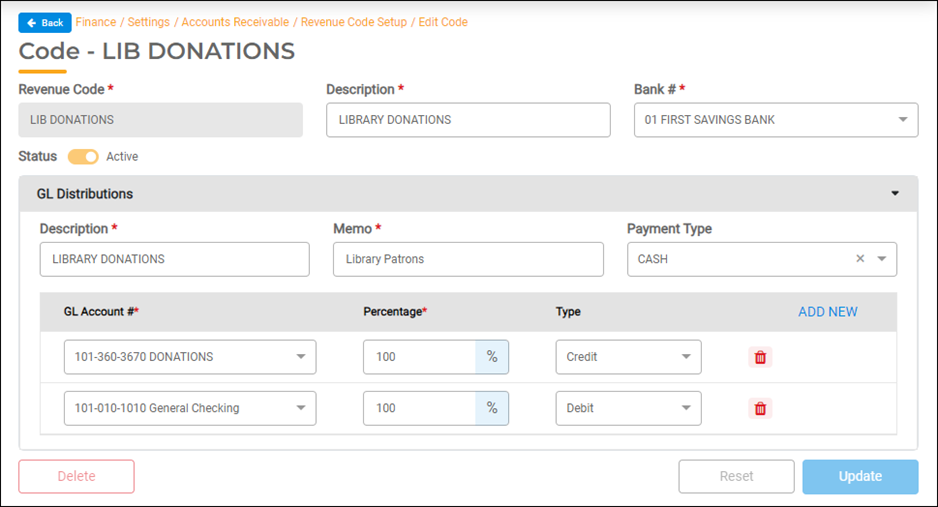
On the Add New Code screen, fill out the following fields:
- Revenue Code – Enter a unique code for this revenue. gWorks recommends a description of the revenue. You will select this code when entering revenue.
- Description – Enter a description of the revenue code.
- Bank # – Select the Bank where the revenue is deposited.
- Description – A second description box will appear for additional details. This field is optional.
- Memo – This field provides you with a space to add notes. This field is optional.
- Payment Type – Select the form of payment from the dropdown menu you would like the revenue to default to.
- GL Account #'s – Select at least two GL accounts. One account must be a debit account, and the other must be a credit account. Both account numbers must begin with the same Fund number to prevent cross-fund posting. You may add as many accounts as you need.
- Percentage – Enter Percentage values for each account (optional)
- When using one revenue credit account and one offsetting (typically Cash) debit account, enter 100% in the percentage fields. This will save you time when posting in Accounts Receivable.
- When using more than one revenue account offset to one debit account, leave the percentage fields blank. When posting in Accounts Receivable, you will enter specific amounts for each account number
- Once you have verified that the information is correct, click Add.
Editing the Code
Select Settings|Accounts Receivable|Revenue Code Setup to edit a revenue code. Revenue Codes for each module display different fields. You can change any field except the Revenue Code name.
Deleting a Revenue Code
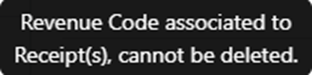
You can delete a Revenue Code that has not yet been used in an AR Receipt Run by clicking the Delete button at the bottom left of the screen.
A message will appear above the Delete Button if the Code has been used during the current and previous fiscal year. You cannot delete the code if you see this message.
Inactivating a Revenue Code
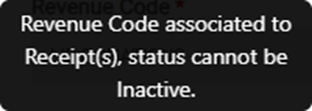
The Status button is located below the Revenue Code field at the top of the screen. If you no longer want to use a revenue code, you can inactivate it by clicking the Status button to toggle it from Active to Inactive.
A message will appear above the Status button if the code has been used during the current and previous fiscal years. You cannot inactivate the code if you see this message.
Updating Your Changes
Once you have completed making changes to the revenue code Edit screen, click the Update button to save your changes.